HOME DISTRIBUTORS ABOUT CONTACT


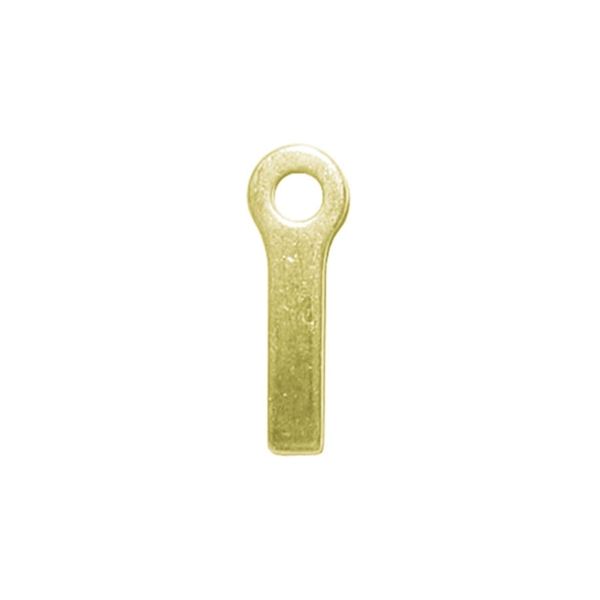
ORIGINAL HANDY HANGER [Patent Pending]
Taking the STRAIN out of STAINED Glass Hanging.


If you’ve ever tried to securely hang a stained glass panel, you know how frustrating it can be. By using Handy Hanger Inserts, there will be no more drilling holes in the frame, no more bending wire, no more paper clips, no more key rings, no more washers, etc.

The solid brass Handy Hanger insert, is specifically designed to be inserted INSIDE all U channel zinc, brass or copper frames. All framing is done before the Handy Hanger inserts are installed.

Once the tab has been fluxed and tinned, it can be inserted into the channel leaving only the eye exposed. Heat is applied with the tip of the solder iron causing solder to flow the length of the hanger, thus allowing Handy Hanger inserts to become an integral part of the finished piece.

Handy Hanger inserts work with a variety of shapes. They are easy to use, securely hold the panels yet do not detract from the beauty of the panels.


INSTRUCTIONS


Square or Rectangle Frames


Let side pieces of the frame run full length so that the tops will be open to accept the Handy Hanger. Stand the panel with the side flat on a work bench. Insert the Handy Hanger, flux and solder. Cap off the ends with solder after the Handy Hangers are in place.

Butt Joint Corners

Stained glass panel should be completely framed and soldered together before Handy Hanger inserts are installed.


Be sure the side pieces of the frame run full length so that the tops of frame are open to accept the Handy Hanger inserts. Stand the panel with the side flat on a workbench.


The Handy Hanger and the opening are fluxed. The tab is inserted into the opening, leaving only the eye exposed. Solder is applied with the tip of iron causing solder to flow the length of the Hanger.

Cap off ends with solder after the Handy Hanger inserts are secure in place.

Due to the a change in the manufacturing of the U Channels. The 1/4″ and 3/8″ Channels will not accept the tab of the Handy Hanger. Therefore it may be necessary to slightly widen the channel with a flathead screwdriver, or to reduce the tab of the Hanger with a File, for the hanger to fit into the came. Mitered corners weakens the framed work of a glass panel piece, therefore Handy Hanger is NOT recommended to be used in a mitered corner piece.


Round or Oval Frames


After the framing is complete, decide the 2 points where you want to place the hangers. Then, simply file a groove across the frame (using the edge of a half round bastard file). Insert the Handy Hanger tab into the groove up to the eye. Flux and solder. On small diameter frames using narrow zinc, you will need to give Hanger tab a slight curve to conform to the panel diameter. This can be accomplished by using breaker pliers.


Hanging Round or Oval Panels


After frame is formed and attached to stained glass panel, decide where the Hangers should be placed. At these 2 points file a groove across the frame (a half-round file works best). At this point using your breaker pliers, bend the Handy Hanger slightly to conform to the radius of your frame.


Using a generous amount of flux, flux notches and also the Hangers. Install Hangers and solder in place, being sure to solder closed any spaces.


Octagon & Hexagon Frames


Joints are the best points to install the Handy Hanger. Using the edge of a half round bastard file, simply file a groove across the zinc. Insert the Handy Hanger tab into the groove up to the eye. Flux and solder.


Inside Corner with Half Frames


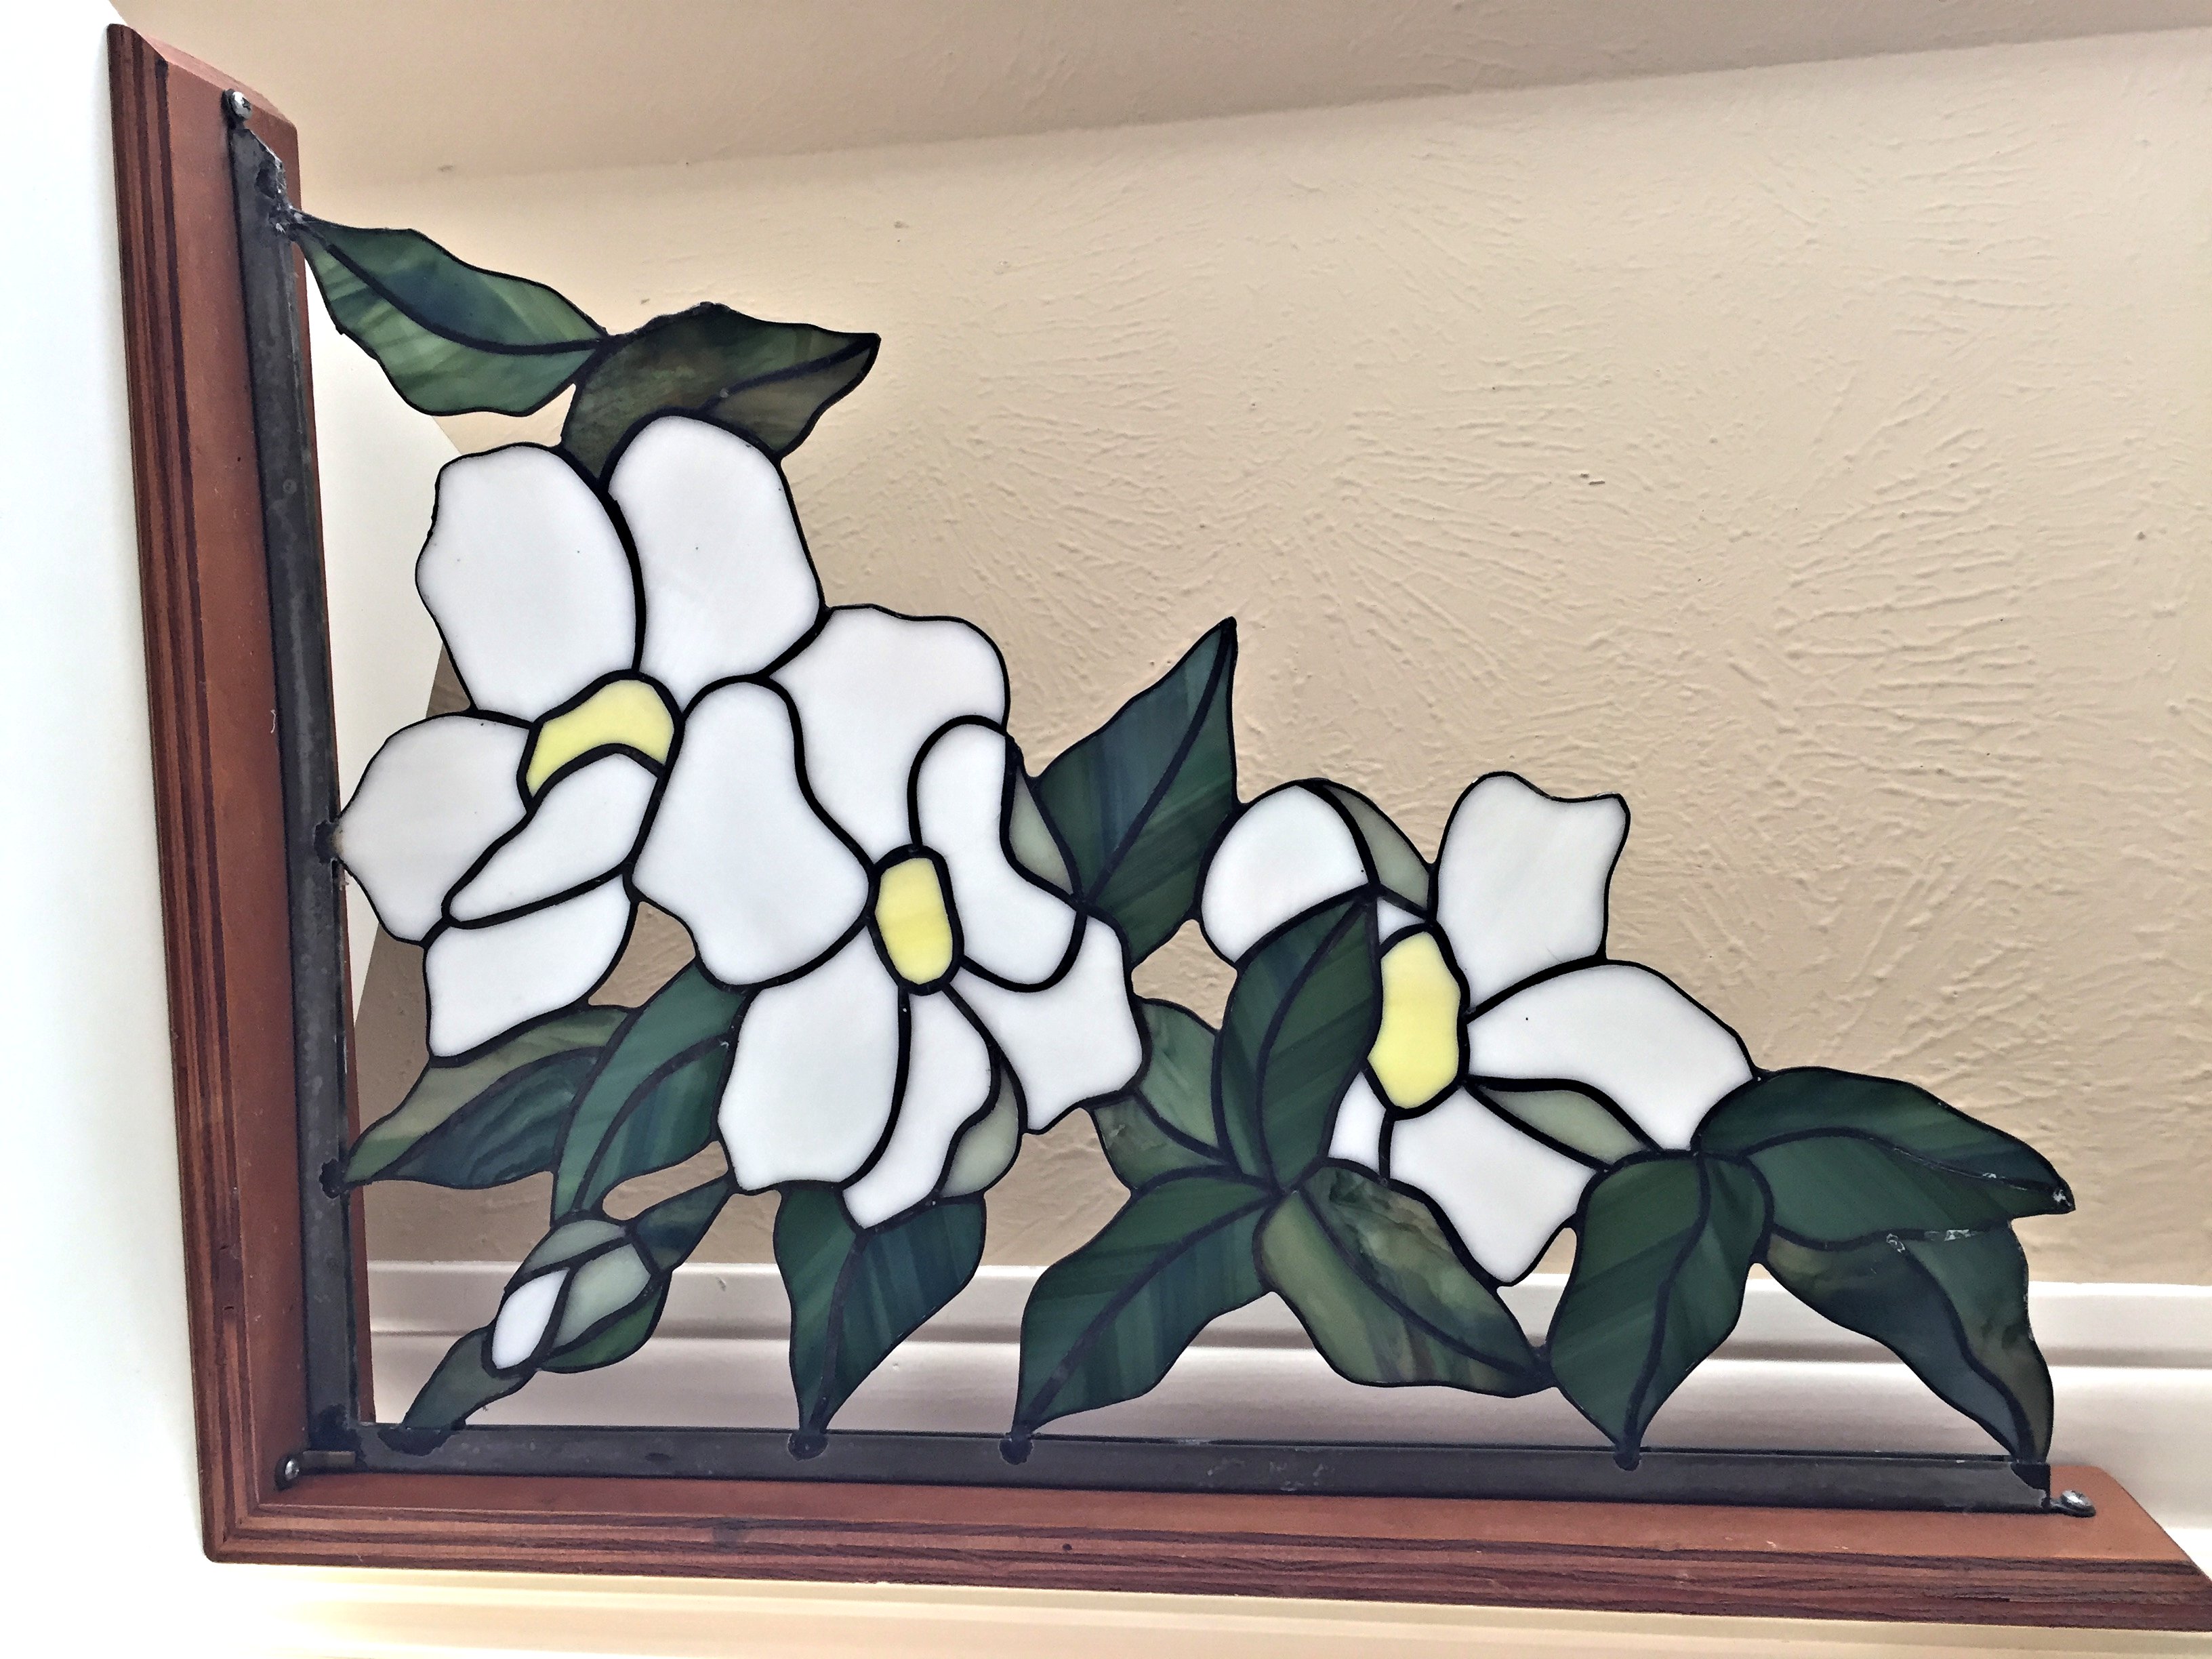
Insert Handy Hangers in open ends of frame. Flux and solder. Using small screws, attach frame to wall openings. After completing your corner panel and framing with zinc, flux inside each end of zinc and also tab end of Hanger. Insert Hanger into zinc up to eye and solder in place (illustration #1).


For a flush mount, bend one tab of Hanger 90 degrees and solder against zinc border side with top face of Handy Hanger level with top edge of zinc (illustration #2).


The tab is now your place of attachment to window or door using small screws (illustration #3).


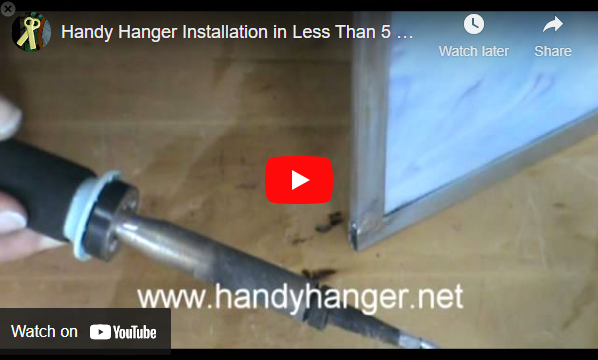
5 Minute Installation Video


CONTACT
 
Onalaska, Texas 77360
 
979-864-0556
 
Monday - Friday:  9:00 AM - 5:00 PM
 
Home

About

Distributors

Contact Us

Products

Handy Hanger

Finley Fusible

Ellie Fusible

Mini Ellie

GET SOCIAL


© Copyright 2012 - 2022       |        ALL RIGHTS RESERVED